
In a world where storage space is as precious as that last slice of pizza, knowing how to make images smaller on an iPhone can save the day. Whether it’s for sharing photos with friends or freeing up space for that new app you’ve been eyeing, resizing images is a skill every iPhone user should master.
Imagine your phone’s storage like a suitcase—stuffing it full of oversized photos is like trying to pack for a week-long vacation in a carry-on. With just a few simple steps, you can shrink those hefty images down to size, making room for more memories (and maybe a few cat videos). Let’s dive into the quick and easy ways to trim those image sizes without sacrificing quality.
Understanding Image Size on iPhone
Reducing image size plays a key role in managing storage space on an iPhone. Users often face challenges with limited space due to large photo files.
Importance of Reducing Image Size
Reducing image size helps conserve valuable storage space on the device. Many users find themselves running out of space, leading to difficulties in downloading apps or updating software. Smaller images also facilitate faster upload and download times, particularly for sharing photos through messages or social media. Efficient management of image sizes streamlines the overall performance of the iPhone, ensuring it runs smoothly. Prioritizing image size reduction can enhance user experience and prolong the device’s longevity.
Common Reasons to Resize Images
Users frequently resize images for various reasons. Sharing photos on social media platforms requires smaller files for quicker uploads and smoother sharing experiences. Emailing images also benefits from reduced sizes, as many email services impose size limits on attachments. Space conservation stands out as a crucial reason; deleting large files is not necessary when resizing helps free up storage. Also, some users resize images for better compatibility with printing services or specific applications. Understanding these reasons drives users to learn how to efficiently manage image sizes on their iPhones.
Methods to Make Image Smaller on iPhone
Users can effectively reduce image sizes on their iPhones through various methods. Techniques range from built-in options to third-party applications.
Using Built-In Photo App
The built-in Photo app allows resizing images easily. Users can select a photo, tap “Edit”, then crop the photo to reduce its dimensions. This approach not only trims unnecessary parts but also decreases file size. Another option involves sending images via email; this prompts the user to choose a size for attachment, such as Small, Medium, or Large. Selecting a smaller option significantly reduces the image size while preserving quality.
Utilizing Third-Party Apps
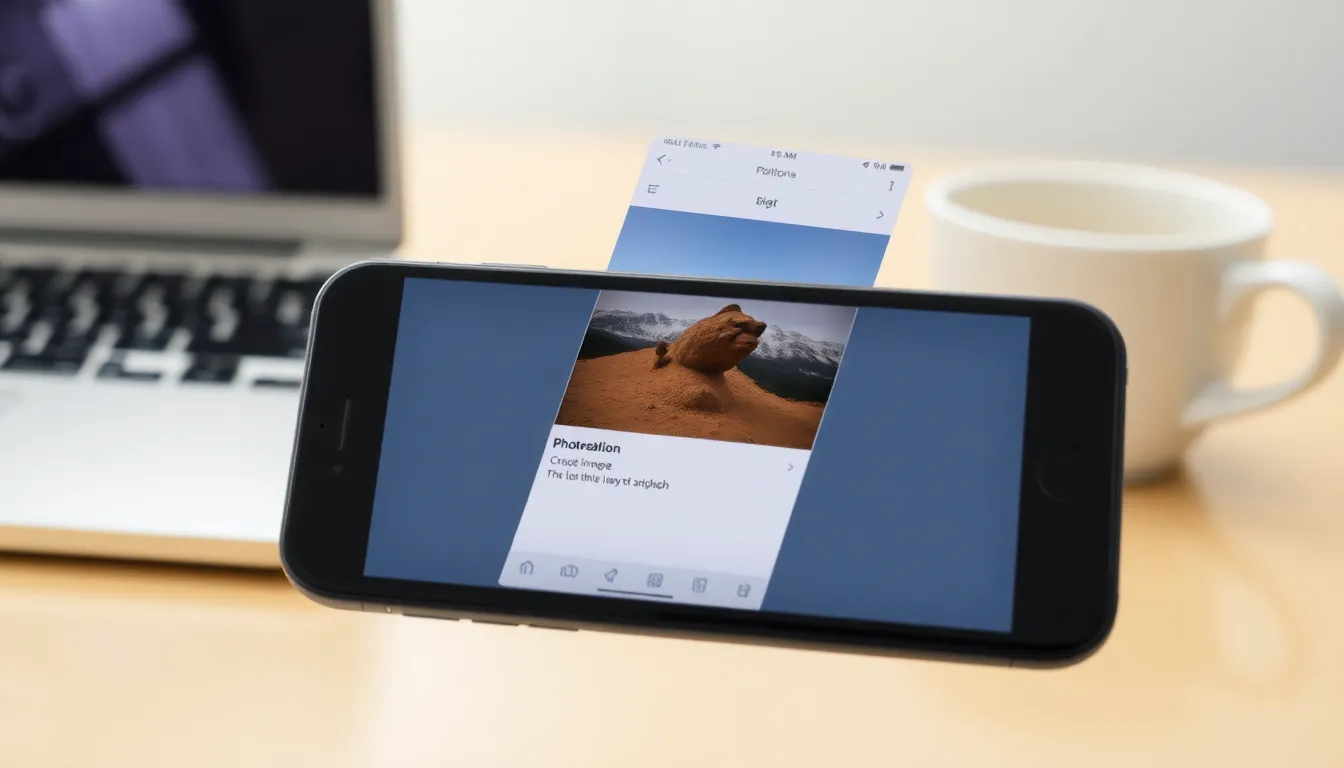
Third-party apps provide more robust features for image resizing. Applications like Image Size or Compress Photos offer user-friendly interfaces for quick adjustments. Users can input specific dimensions or file size percentages to optimize their images. Many of these apps also allow batch processing, meaning multiple photos can be resized simultaneously. This efficiency saves time when managing larger photo collections, thereby enhancing the overall user experience on their iPhones.
Tips for Efficient Image Resizing
Users can adopt specific strategies for effectively resizing images on an iPhone. Efficient image management requires understanding the nuances of format selection and quality preservation.
Choosing the Right Format
Selecting the appropriate image format is essential for effective resizing. JPEG format is commonly used due to its smaller file size, making it ideal for everyday photos. PNG serves well for images that require transparency, though it typically results in larger file sizes. Consider using HEIF for even better compression without sacrificing quality, as it reduces file sizes significantly while maintaining image clarity. Understanding these formats allows users to choose the best option based on their needs.
Keeping Quality in Mind
Maintaining image quality is crucial during the resizing process. Users should aim for a balance between size and clarity. Compression tools reduce file size but often compromise quality; therefore, users need to preview images before saving changes. Using third-party apps offers preset options that optimize size without significant quality loss. Cropping images efficiently can also enhance quality while decreasing size. Prioritizing these aspects ensures resizing remains practical without sacrificing visual integrity.
Resizing images on an iPhone is a practical skill that enhances device performance and storage management. By using built-in features or third-party apps users can easily reduce image sizes while maintaining quality. This not only saves space but also streamlines sharing and uploading processes.
With the right techniques and formats users can navigate their photo libraries more efficiently. Embracing these methods allows for a smoother experience whether it’s for social media sharing or simply keeping the device clutter-free. Adopting these strategies ensures that users can enjoy their iPhone without worrying about storage limitations.


