
Capturing that perfect moment shouldn’t feel like a high-stakes game of photographic dodgeball. Enter the iPhone camera timer—a nifty little feature that lets you strike a pose without the frantic sprint to the front of the frame. Whether it’s a group shot or a solo selfie, this timer is your new best friend, ensuring you’re not just a blur in the background.
Understanding The Timer Feature
The timer feature on the iPhone camera significantly eases the photo-taking process. This tool allows users to delay the shutter release, providing ample time to get into position for a shot.
What Is The Timer Function?
The timer function acts as a countdown before capturing an image. Typically, users can select between options like 3 seconds or 10 seconds for the countdown. Activating this feature involves tapping the timer icon within the camera interface, instantly enabling a more relaxed photo session. This function is particularly useful for group shots or selfies, ensuring everyone can fit into the frame without hassle.
Benefits Of Using A Timer
Using a timer offers several advantages. Capturing group photos becomes straightforward, as everyone can join the scene without rushing. It enhances solo photography by allowing individuals to compose their poses thoughtfully. Users can achieve better angles and expressions since they aren’t hastily positioning themselves. Furthermore, this feature aids in reducing camera shake, resulting in clearer photos. The flexibility to take photos at one’s own pace contributes significantly to overall picture quality.
Setting Up The Timer On Your iPhone Camera
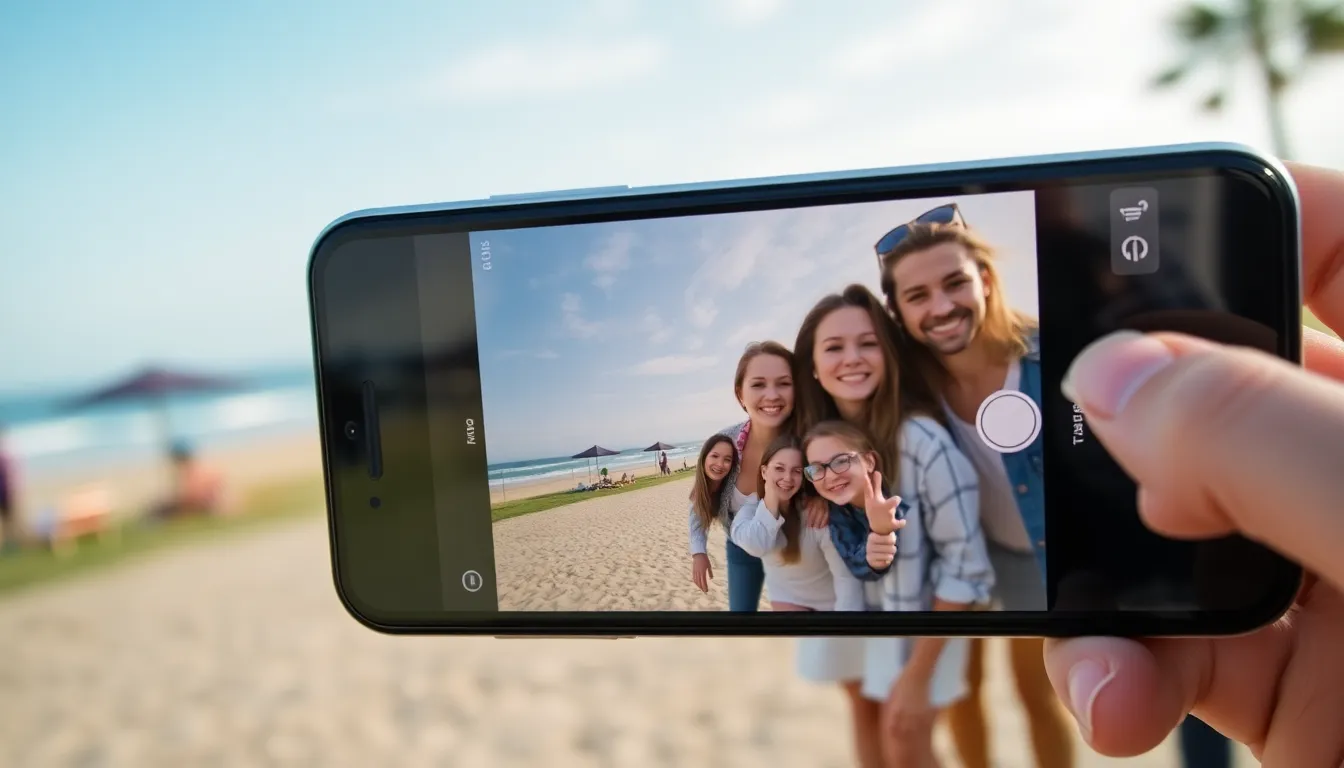
Setting up the timer on your iPhone camera is straightforward and quick. This feature allows users to capture images with ease, ensuring everyone is included in the shot.
Accessing The Camera App
To access the camera app, locate the camera icon on your iPhone’s home screen. Tapping the icon opens the camera interface instantly. Users can also quickly launch the camera by swiping left on the lock screen. Once in the app, a user-friendly interface presents various options for capturing photos. Familiarity with the app’s layout enhances the overall photography experience.
Selecting The Timer Option
Selecting the timer option involves a few simple taps. First, locate the clock icon on the camera interface, usually found at the top of the screen. Tapping this icon reveals countdown options of 3 and 10 seconds. Users can choose the desired countdown to accommodate their posing needs. After making a selection, the timer is activated, indicating a countdown on the screen. This enhancement provides ample time to get into position, ensuring each photo turns out well.
Choosing Timer Durations
Selecting the right timer duration on the iPhone camera enhances the photo-taking experience. Users can choose between a 3-second and a 10-second timer, allowing flexibility based on their needs.
3-Second Timer
The 3-second timer serves well for quick shots. This option is ideal when users only need a moment to prepare. It’s beneficial for spontaneous selfies or when taking photos with friends after setting up the camera. The shorter countdown encourages a fast reaction while allowing a small window to get into position. Many find it perfect for capturing natural expressions without prolonged anticipation.
10-Second Timer
The 10-second timer offers more time for detailed setups. This option works best when users need to adjust their poses, especially in group photos. A longer countdown provides ample time to prepare, coordinate with others, or achieve the right angle. Users appreciate this duration for creative shots that require thoughtful arrangements. More time reduces the chance of rush-induced errors, leading to higher-quality images.
Tips For Effective Timer Usage
Using a timer on the iPhone camera enhances photo quality and user confidence. By framing the shot correctly and positioning the camera effectively, users can capture stunning images effortlessly.
Framing Your Shot
Start by considering the composition before taking a shot. Use grid lines available in camera settings to align subjects and maintain balance. It’s essential to ensure the main subject is well-placed within the frame. Adjust background elements to create depth or eliminate distractions. A well-framed shot sets the stage for capturing fantastic memories. Experiment with angles by slightly changing the position of the camera to find the most appealing perspective. With the timer set, users can focus on relaxing and posing authentically without concern for timing.
Positioning The Camera
Positioning the camera correctly is crucial for optimal results. When using the timer, place the iPhone at eye level to achieve a natural look in photos. Many users find stability enhances clarity, so consider using a tripod or stable surface for added support. Placing the camera on a flat surface or tripod allows for creative angles, especially in group shots. Ensure the camera faces the subjects directly to avoid awkward compositions. Additionally, leaving enough space for the entire group or individual in the frame maintains balance and focus.
Troubleshooting Common Issues
Users may encounter issues when using the timer on their iPhone camera. Understanding common problems helps streamline the photo-taking experience.
Timer Not Working
Occasionally, the timer may fail to activate. Users should ensure they’re in the camera mode and not another function. Restarting the app resolves many minor glitches. A thorough check of the timer icon also helps; if it’s grayed out, the camera function may be locked. Checking for any available software updates can ensure optimal functionality. Finally, rebooting the iPhone might solve persistent issues, restoring the timer’s capability.
Delayed Capture Issues
Sometimes, photos may not capture at the intended time. Framing the shot correctly ensures the focus aligns with the subject. Users should also verify their countdown duration matches their preparation time. Arranging subjects in a way that supports the desired composition can counter this issue. If pose adjustments are needed after starting the countdown, returning to the timer settings might help. Maintaining a clear view of the visual countdown aids in putting everyone in place on time.
Using the timer feature on the iPhone camera transforms the way users capture moments. It allows for thoughtful poses and reduces the stress of rushing into the frame. By selecting the appropriate countdown duration users can enhance their photography experience and achieve stunning results.
Incorporating tips for effective framing and positioning can further elevate the quality of images. Whether for solo selfies or group shots the timer ensures everyone has a chance to shine. With a few simple steps users can master this feature and enjoy capturing memories effortlessly.


